| buckstix |
| (.400 member) |
| 25/01/23 04:46 AM |
|
|
|
How to turn a "Sow's Ear" into a "Silk Purse" - a picture story
Hello All,
Here's a story about an interesting project.
HOW TO MAKE A SILK PURSE OUT OF A SOW'S EAR
Who says it can't be done?
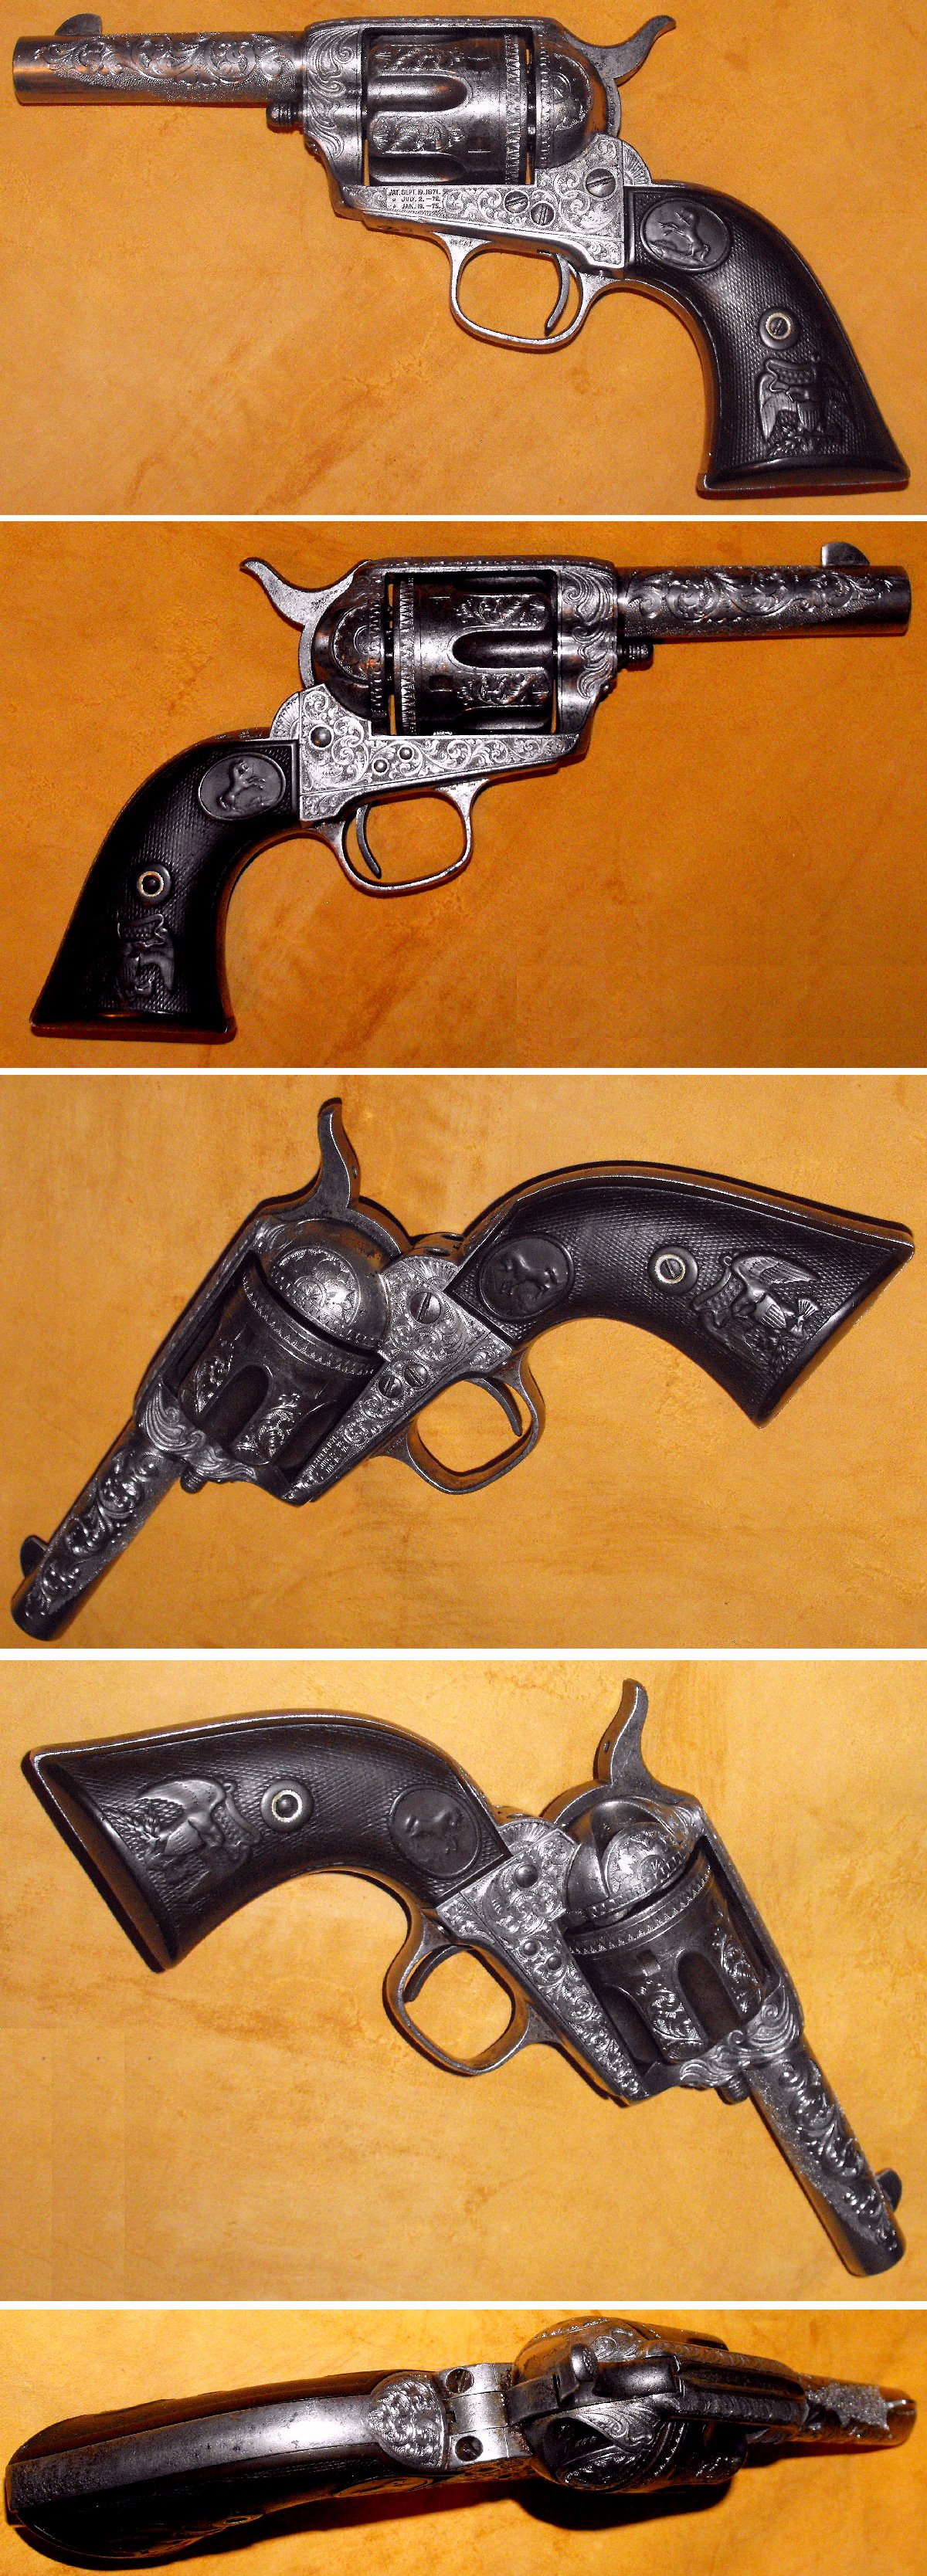
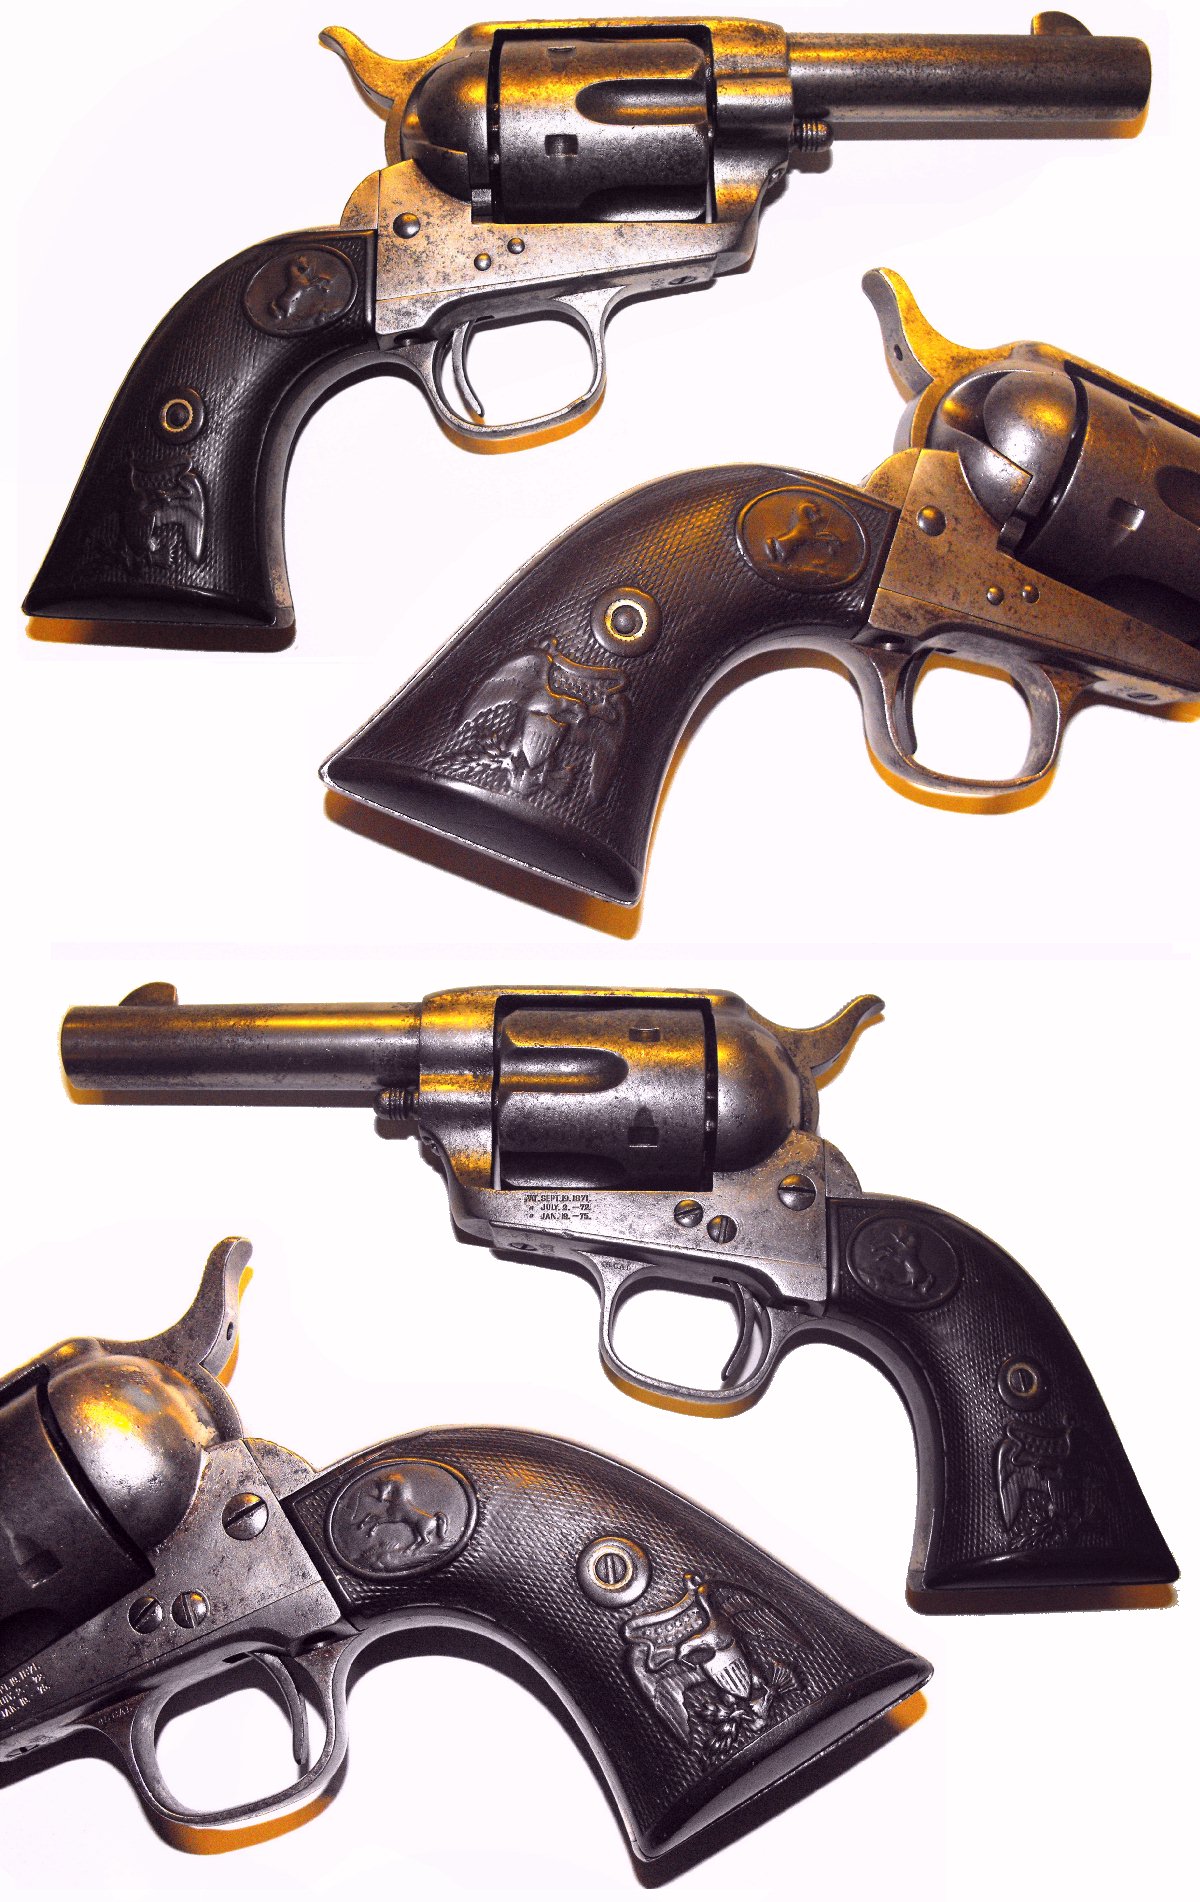
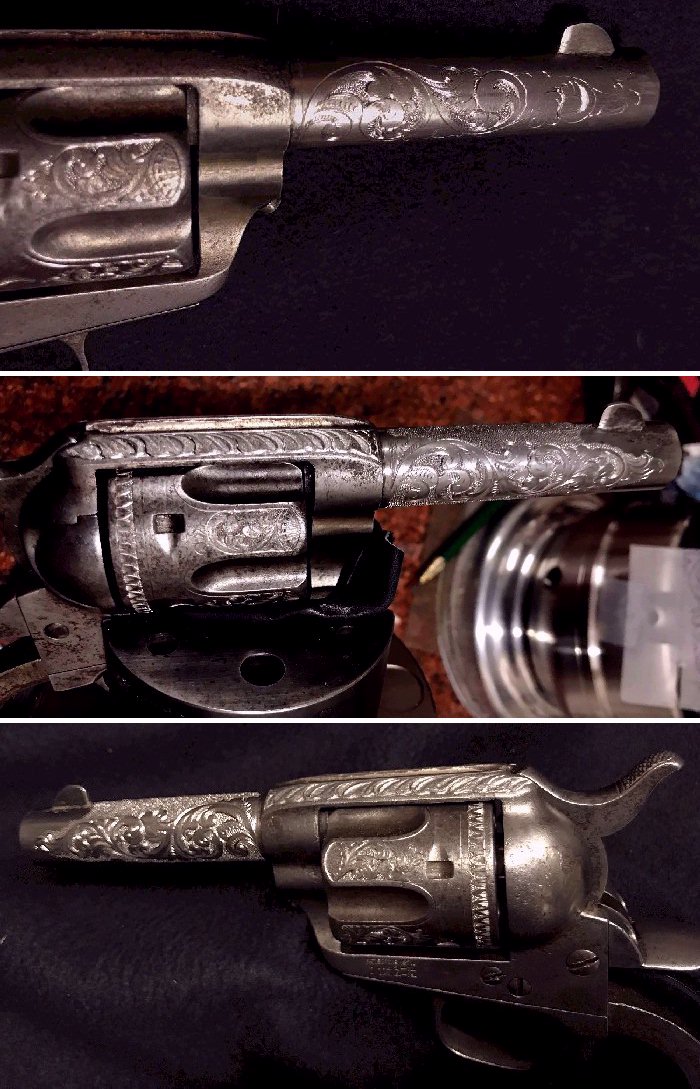
Upon selling my collection of Colt Single Actions, I decided to kept just one for a shooter. It was an early 5-digit serial number gun from 1883. Unfortunately, some time long ago it had its barrel cut down to 3-3/4" and had its ejector boss ground away. It may have actually been carried by a Sheriff during its life because it was in remarkably great mechanical condition, showing little signs of having been shot much. It was the least valuable gun in my SAA collection, and would make a fun little shooter, so I kept it. But it was in fact a real "sow's ear" as Colts go. Here are some pictures of how it looked when I first bought it, many years ago.
Not long ago Kenn Paulson, one of my Gun Club members, brought a couple of fancy engraved guns to show to all the members. Much to our surprise, they were guns that he himself had engraved. He explained that over the last 25 to 30 years he had been teaching himself how to engrave. Along the years he also tutored under several Master Engravers, and the guns he brought in to show us were his practice pieces. He also brought one he intended to sell. It was his very first public offering. It was a real master piece. You can see pictures of it here. click the link ...> http://www.buckstix.com/buckpics/paulson-python-000.jpg
What a surprise to have a Master Engraver as a Club member. It was soon thereafter that I asked Kenn if he could engrave my little "sow's ear" Colt. I told him to dress-it-up any way he wanted. I asked him to send me photos as the work progressed to I could tell a picture story of the project. He agreed .... and here's the story.
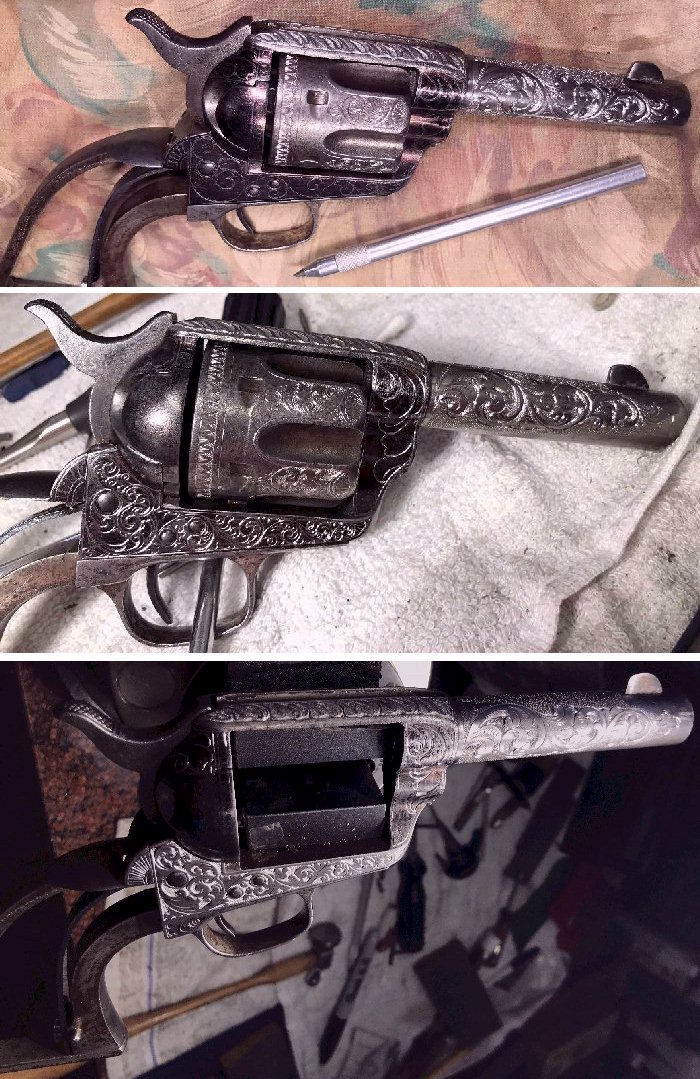
He started with the cylinder - and then moved to the barrel with a "scratch" layout of this intended pattern.
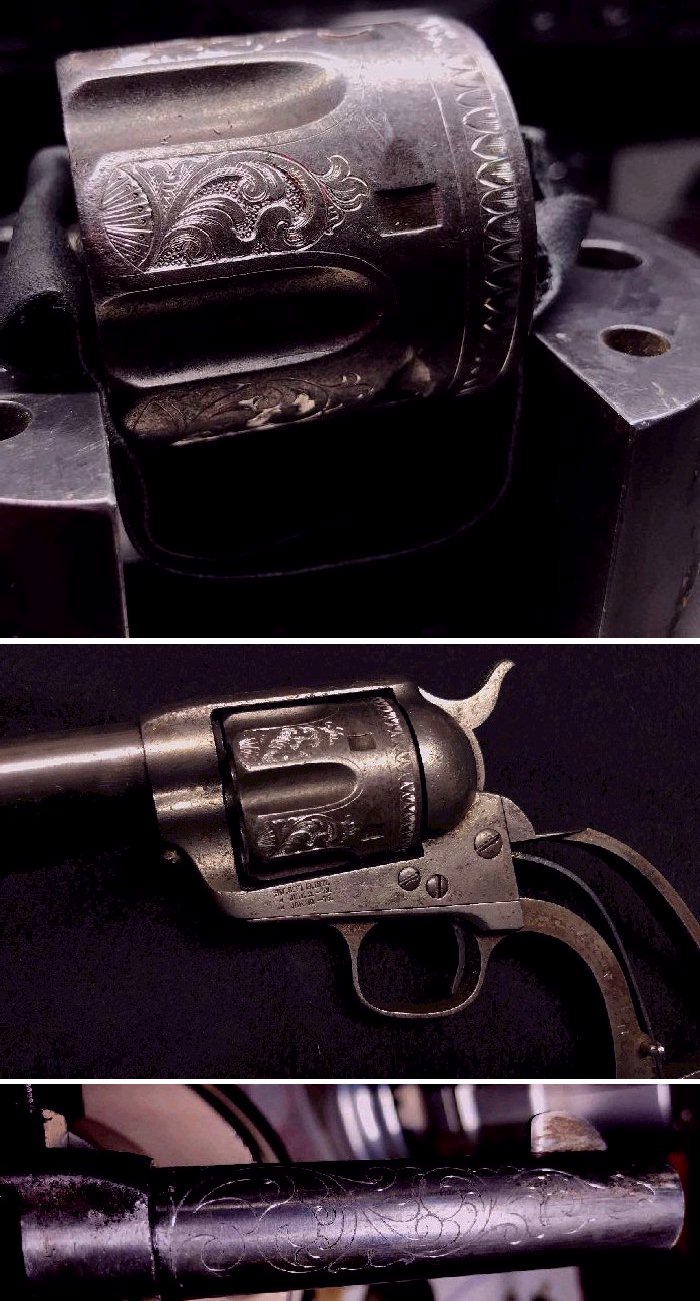
Little by little he cut the barrel pattern, first one side, and then the other. After he completed the barrel, he moved to the the top of the frame.
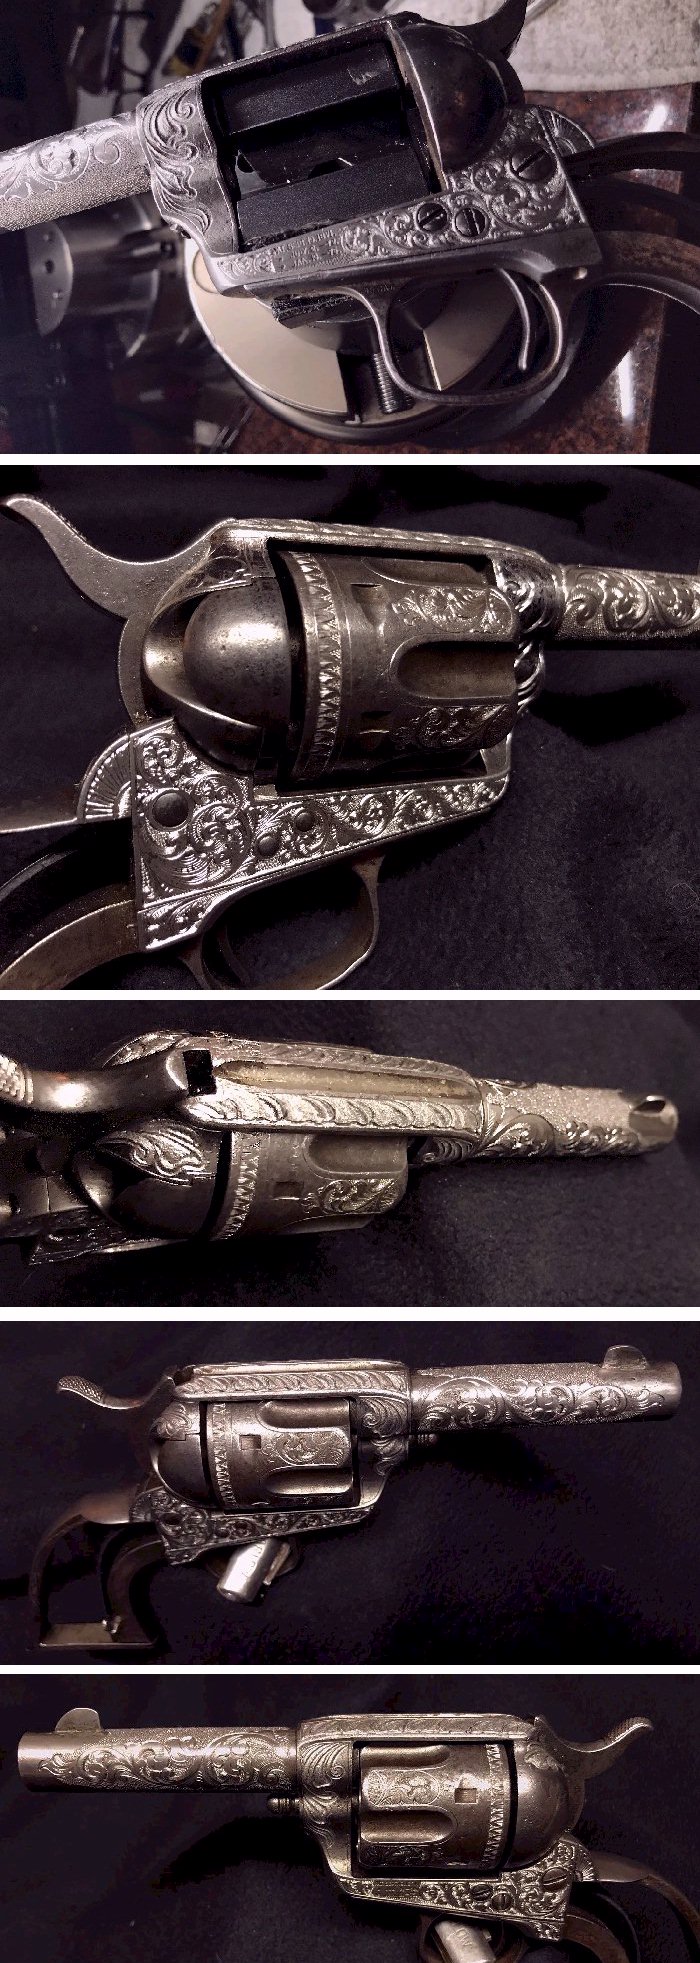
With the top of the frame completed, he next started on the rest of the frame. Once again, he started with a "scratch" pattern on front of the frame and then the bottom. When satisfied with the layout, he starting cutting deeper and deeper.
Little by little, the engraving continued. (note: Due to the coarse pixilation definition of my camera, my pictures don't begin to do justice to show the detail and real quality of Kenn's work)
Last steps were the loading gate, and the opposite side of the frame to match. And finally adding a shield behind the hammer. In excess of 100 hours of work were spent in dressing-up the little Colt.
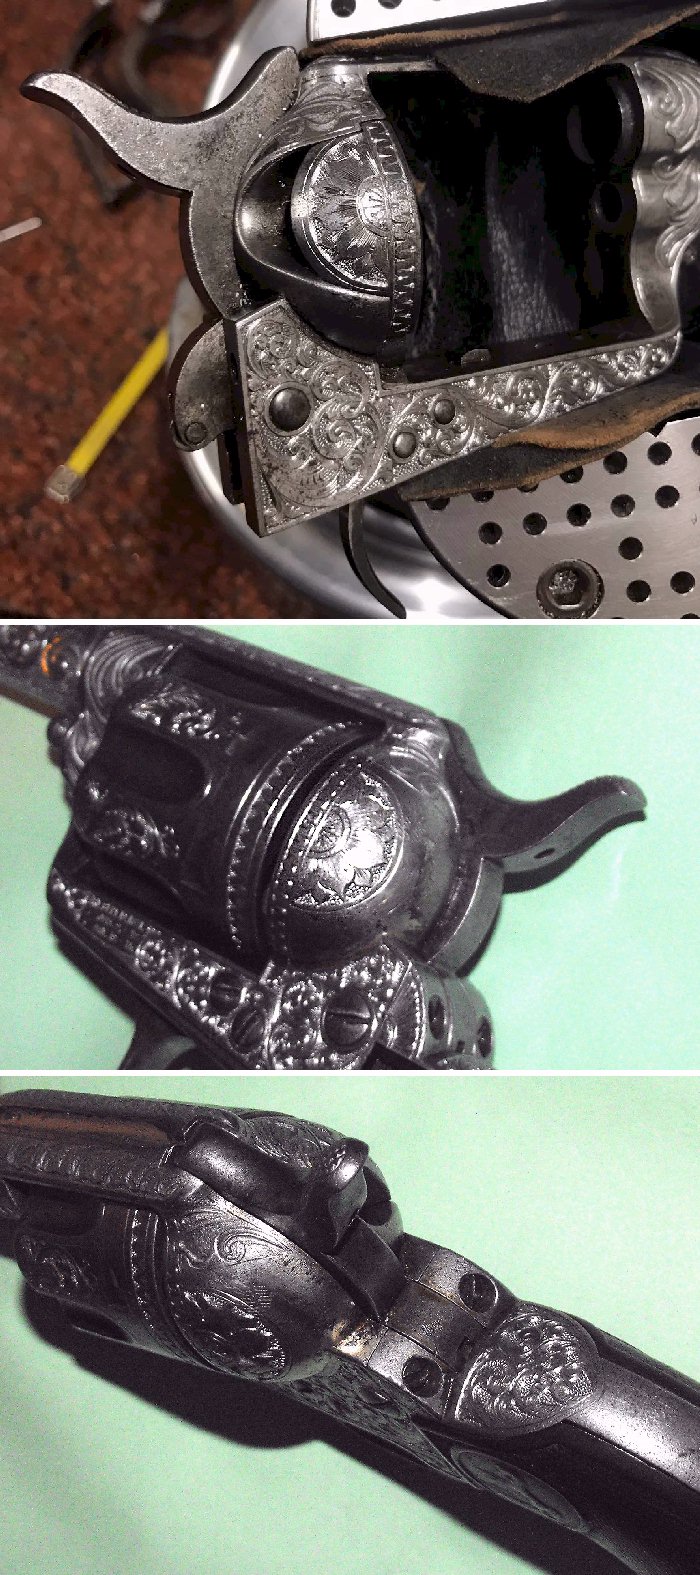
The last step in the engraving process was to go over every cut and touch-up every line and swirl to ensure a good looking finished product.
I'm going to leave the finish "as is" because I like the look with some of the original trace nickel showing. I like the sparkling lines against the original grey background. Thanks to Kenn, this did turn my ... "Sow's Ear" ... into a ... "Silk Purse".