| transvaal |
| (.300 member) |
| 30/03/17 02:05 AM |
|
|
On second thought to my comment above to discuss later the jointing of these shoe lump barrels with a wedge shaped rear lump forward surface (instead of a radius or as called in the trade "circle"), now is as good a time as ever.
I envy those gunmakers who have been trained and versed by a elder expert in the process of jointing barrels to the action of double rifles. What I am about to discuss is based upon what I have learned by the experience of trial and error. Trial and error learning, unfortunately is full of negative reinforcement and I think positive reinforcement is best in this subject. I am going to return to my saved photos in my computer database and post a couple here to use as references as I discuss what I learned in the jointing process of this DR.

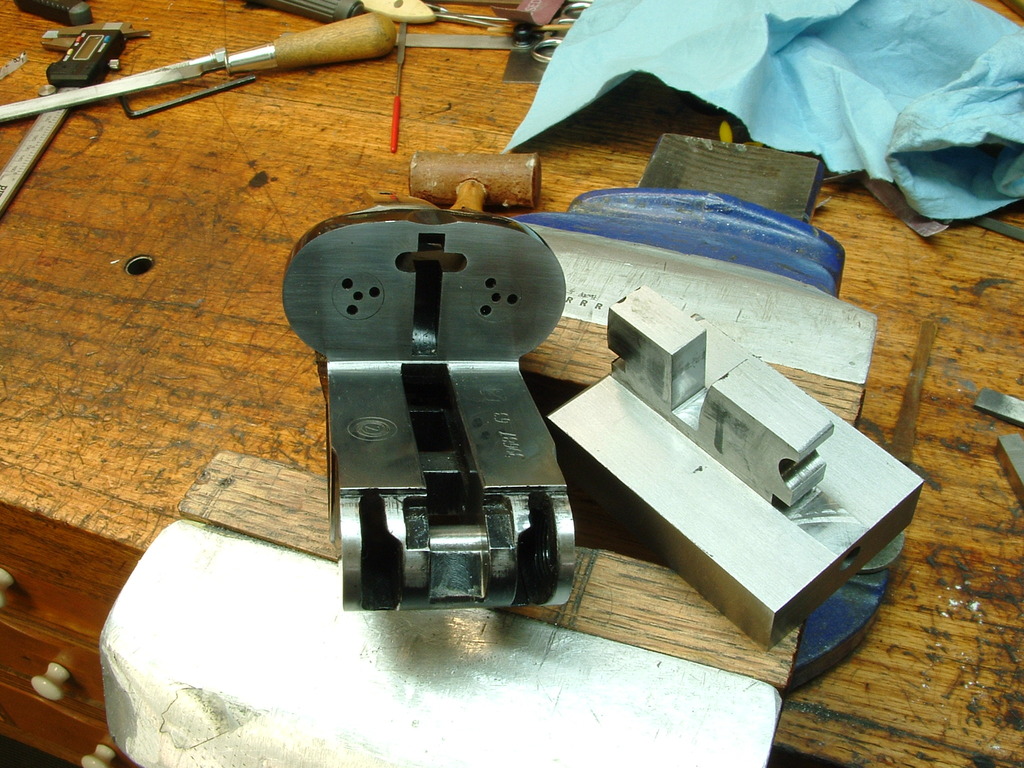
In this photo you can clearly see that the forward surface is a wedge shape and that the shape is at an angle of some sort to the barrel flats. In this case that angle is the exact same angle (as determined by measurements with protractors) to fit face to face with the matching angle in the draw portion of the action's lump slot. You can also the clearly the forward lump's hook surface.
Beginning with the shoe lump platform alone I began to joint it to the DR's action in the same manner that as usual with jointing(at least to my mind), and that is with the action's hinge pin being the center rotation point of the arc of movement vertically of the shoe lump platform. I began to reduce by milling and filing the rear of the shoe lump platform to allow this platform to come nearer the action flat, with the goal of leaving .010"+ gap between the flat of the shoe lump platform and the action flats when the shoe lump platform is locked in place by the horizontal forward movement of the action's locking bolt (driven by the top lever spindle and its spring). The goal of the proper jointing in this case was that when the shoe lump platform is rotated in its vertical arc downward that when the horizontal action of the locking bolt occurs that the shoe lump platform rear surface is firmly set against the action face; and that the rear lump wedge is firmly set against the corresponding surface of the draw; and of course, the hinge pin has contact with the forward surface of the front lump hook(all of this is illustrated in the second diagram of page 15 of Vic Venters in a post above).
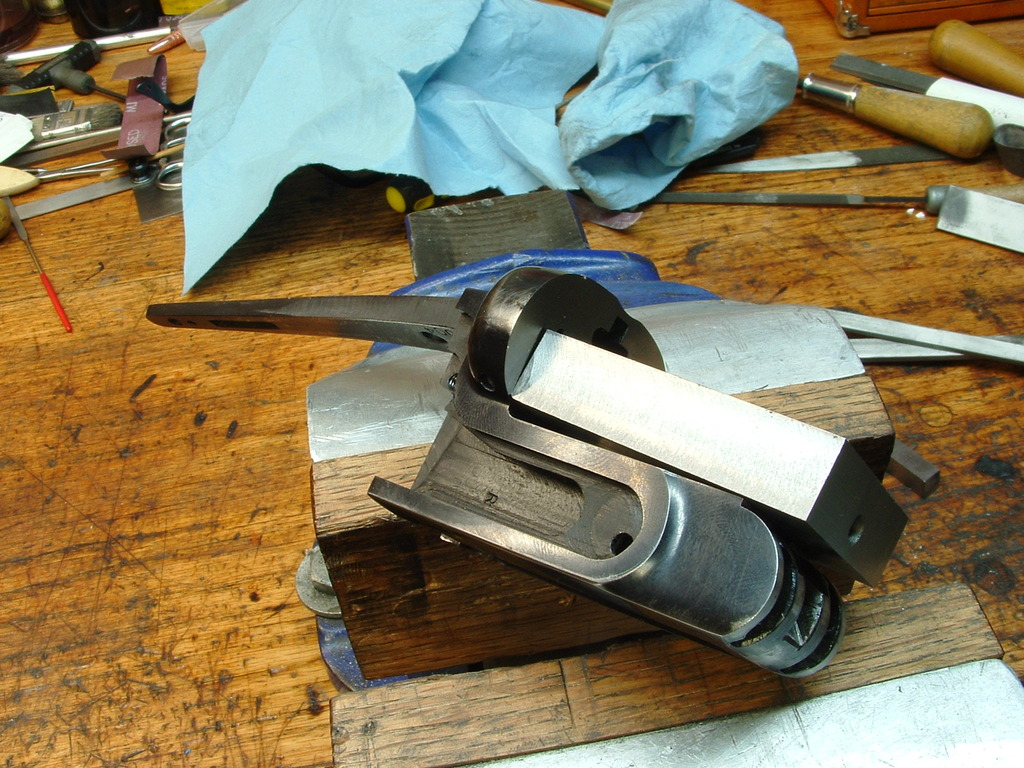
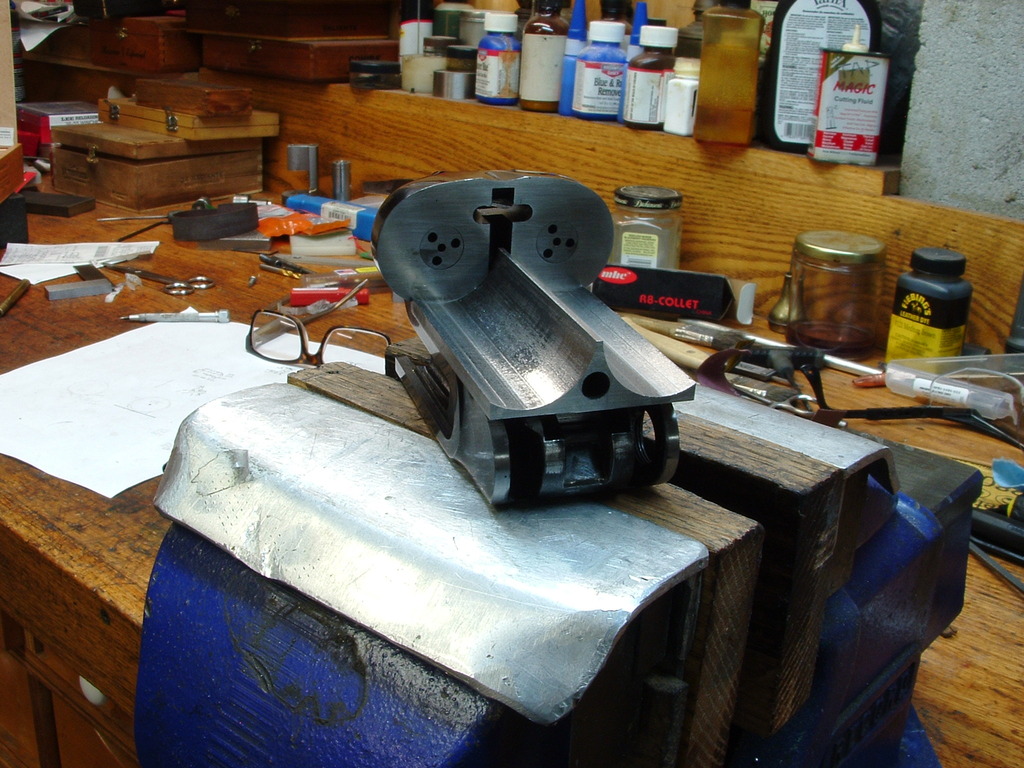
In order to be able to perform this complicated jointing procedure, I made a hinge pin that was undersized to what I reckoned I would finally need; and after I had reached a point to where the shoe lump platform was able to rotate downward to within a position that I reckoned I could work with to finalize the jointing(see photo below), I removed the hinge pin completely. I continued to fit the shoe lump platform to the breech face and action draw, without the hinge pin in place. When in this fitting, I reached a point nearer the degree of gap between the shoe lump flat and the action flat, I stopped and moved the shoe lump platform over to my vertical mill and milled the 1 inch radius grooves for the barrels to fit into. After this I brazed the barrels to the shoe lump platform and finished the jointing with the complete shoe lump barrel set. When I was near to my final clearance and hard fit up against the action standing breech face and the action draw, I made my final hinge pin to the diameter I desired and fitted all three points(standing breech face, draw, and hinge pin)by a scrape, file and so forth. Of course this took hours upon hours of work. But this is how I was able to have all three points to joint at the same time.
The results are that it is the rear lump and the hinge pin together that take the force of firing of the cartridge, not just the hinge pin.

