| transvaal |
| (.300 member) |
| 26/03/17 03:06 PM |
|
|
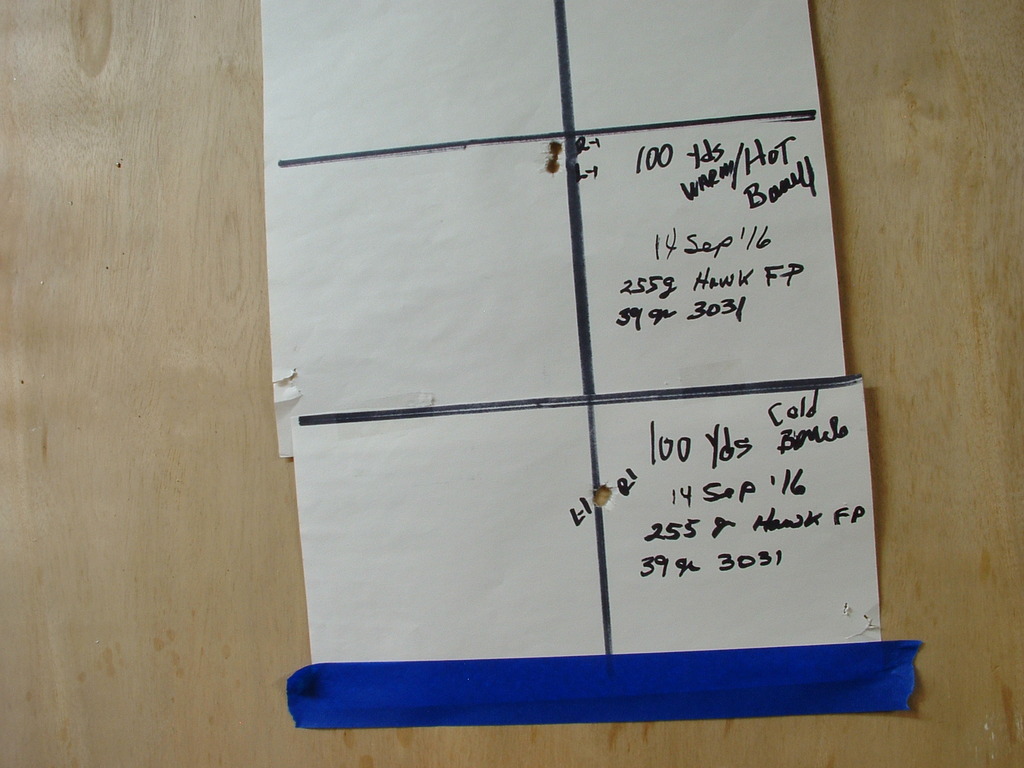
In Autumn 2015 (Northern Hemisphere) I began a task to build, regulate and engrave a double rifle with shoe lump barrels. I had not ever built shoe lump barrels nor had I ever seen anyone do so. Therefore the process of building this DR (in .38-55 McPherson Express--255 grain .377" Hawk bullet and 39 grs 3031 at 2,000 fps) was a self-education. I photographed much of the building of the DR and the barrels and shared them with my fellow engravers and gun makers on the Engravers Cafe BBS during the more than 1-year project. Maybe some of you followed my project on Engravers Cafe.
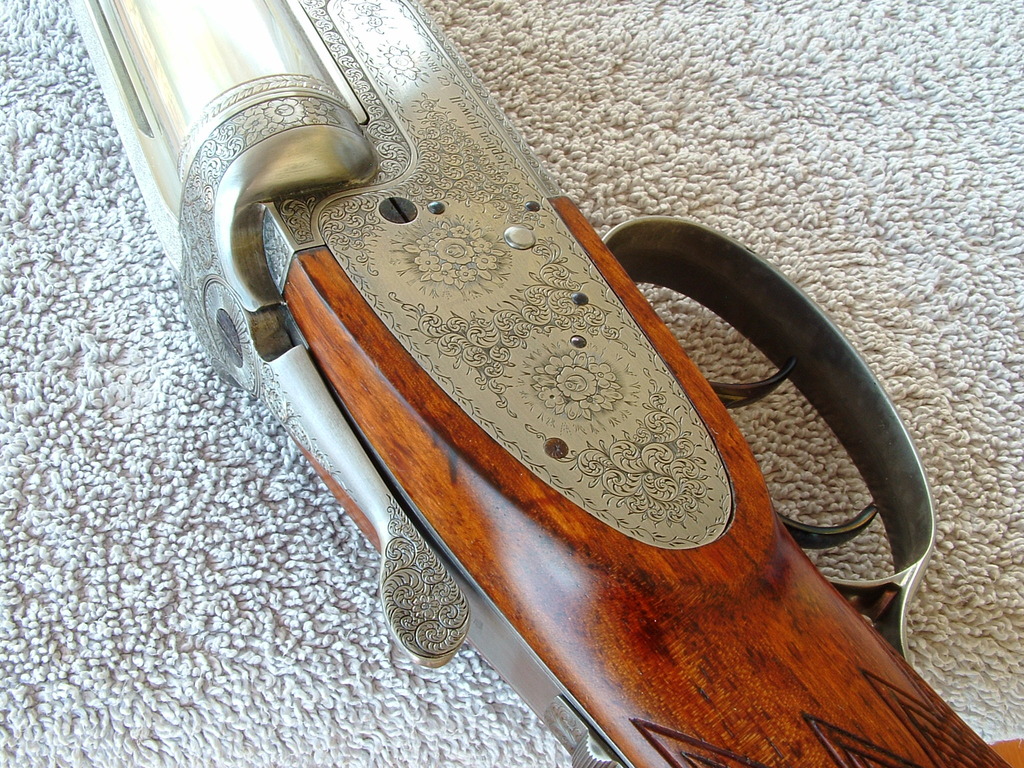
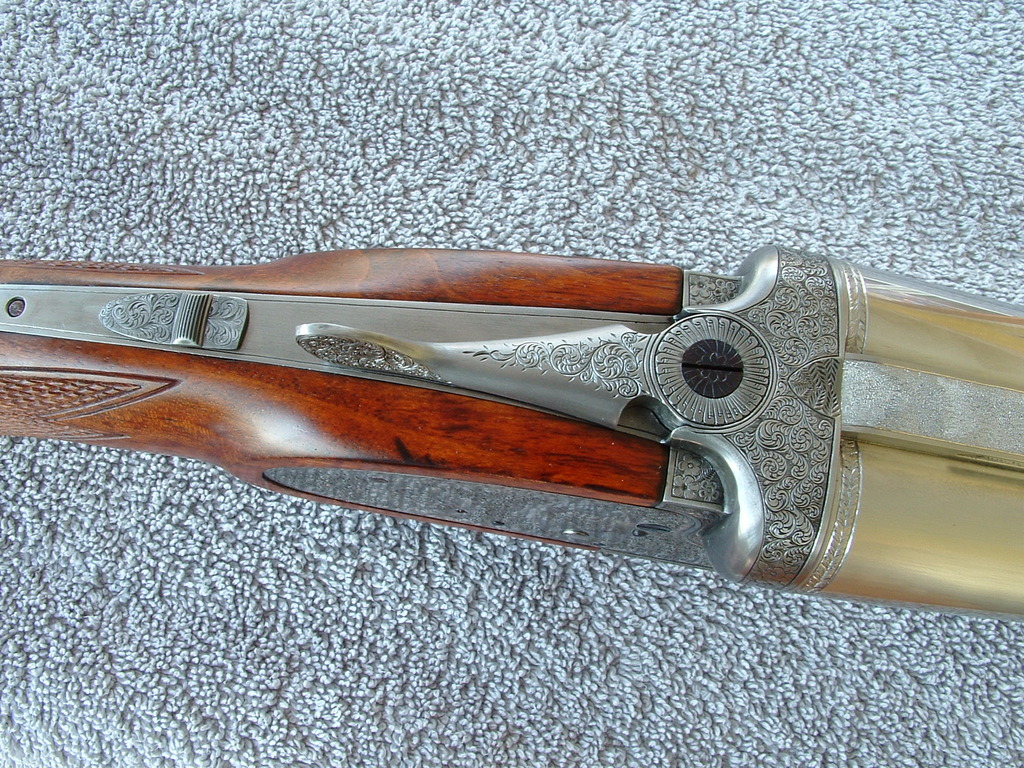
However the project was completed in February 2017 and I am going to show you the end results and then start at the beginning to explain how I build shoe lump barrels. At least I am going to show you the photos if I can make the less than user friendly photo posting system of this BBS work.
I picked an old American cartridge of about 125 years of age to see what could be done with it if you loaded it up to max+ psi. Michael McPherson, gun writer developed a longer .38-55 case some few years ago and I purchased a chamber reamer for his .38-55 McPherson and bought a few hundred .38-55 McPherson brass cases from Starline. Since my plan was to have a set of barrels that were at least 1 inch in diameter at the breech and that the barrel alloy steel would be 4140, and that I was using a 1963 vintage Brno ZP-45 SLE action. I was confident that the resulting DR would tolerate the chamber and barrel pressure of the "wildcat" cartridge. I tested this assumption by pressure way over what the UK proof houses test percentage wise of the service load of a specific cartridge. That is all that I will say about the pressure subject now or in the future.
I have heard that at least one other individual here in the USA has made a set of shoe lump barrels, but I have not seen them or the DR that they may be fitted.
Building a rifle of any type requires skill and patience along with proper equipment and tools. Anyone who builds such a rifle assumes all the risk for the project. I do not warrant or guarantee any methods I used or work that others might produce after reading how I built my project. The sole risk lies with the rifle builder.
Equipment that I used included vertical and horizontal mills, lathes, drill presses, high temp brazing furnace/burners, Oxy/Acl equipment, tools and equipment that I built as well as purchased.
The engraving system I used is the Lindsay foot control Airgraver and a bino microscope. The engraving style used is based upon English Fine Scroll as taught by Marcus Hunt of the UK.
My plan is to first show photos of the finished and cased rifle along with the engraving of the DR in the white. In subsequent posts I will start with photos of the milling of a 2 inch dia 2.7 inch bar of 4140 as the shoe lump platform. The building of the platform to conform with the center of the firing pin holes in the action is a major calculation undertaking in and of itself. The one item alone required many prototypes before I was satisfied with the results.


