| Ron_Vella |
| (.333 member) |
| 14/04/11 12:02 AM |
|
|
Birdhunter50,
Here's how I've approached the problem of creating top and bottom ribs:
For the top rib I bought a piece of cold-rolled, 1/2"x3/4"x26 1/2". 3/4" high may seem extreme but I've found out that it's better this way. Once the rib is final-fitted and soldered in place, you clamp the barrel assembly in the Bridgeport, with the axis of the bores exactly paralell to the bed of the machine, and mill what's required off the top of both the front sight island and the quarter rib. This way, the tops of both are exactly the same height above the centre line of the bores. There are then no problems with matching up the correct heights for front and rear iron sights, and no problem with a scope running uphill or downhill when mounted on the quarter rib. I had my friend with the Bridgeport, mill a 30 degree chamfer along two edges. I then took it home and soldered it with Force-44 to a piece of 1 1/2", thin-wall square tubing. This gave Bill a means of holding it while he milled the profiles. Last night I finished stoning out the few tooling marks and this afternoon, I'll set it up over my two-burner Coleman stove and remove it from the square tube.
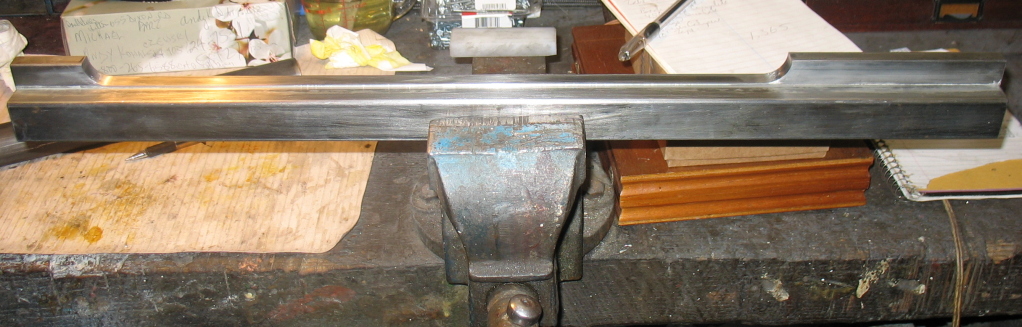
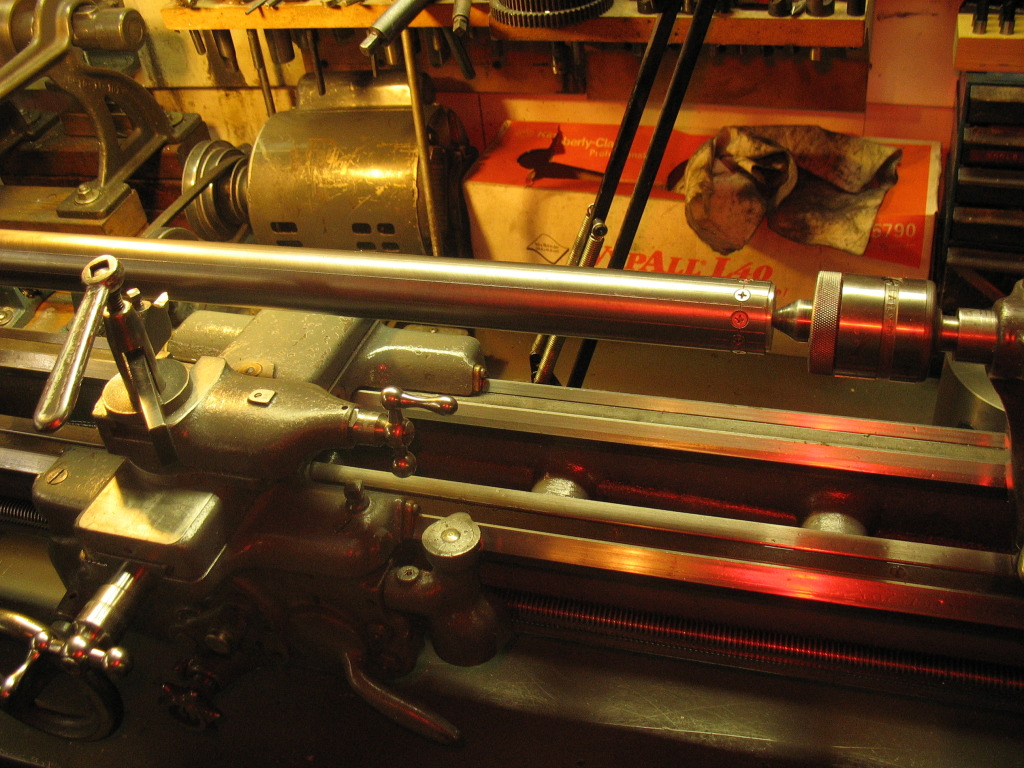
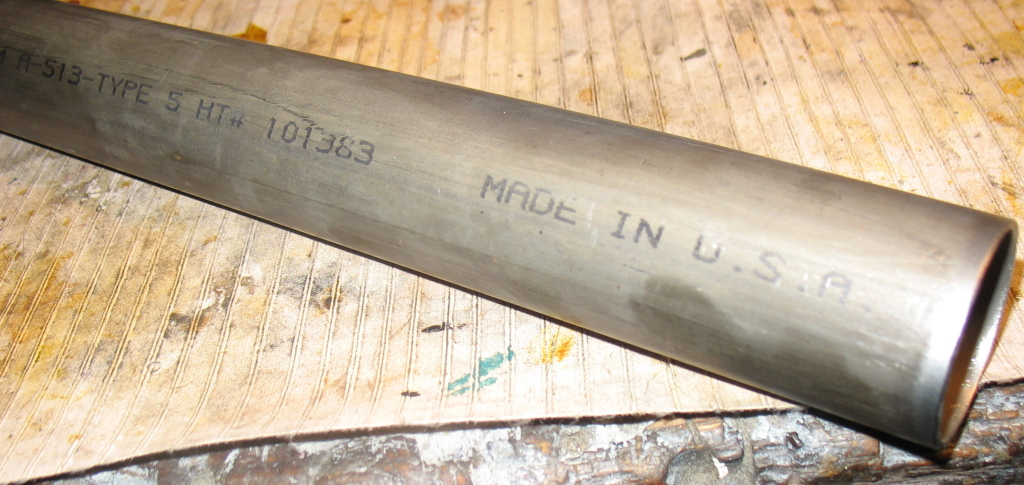
For the bottom rib, I bought this piece of low-carbon, seamless tube, .065" wall thickness, and 24" long.
I also bought a piece of aluminum, 1 1/2" in diameter and 24" long. Here I'm turning it so that it's a tight drive fit inside the steel tube.
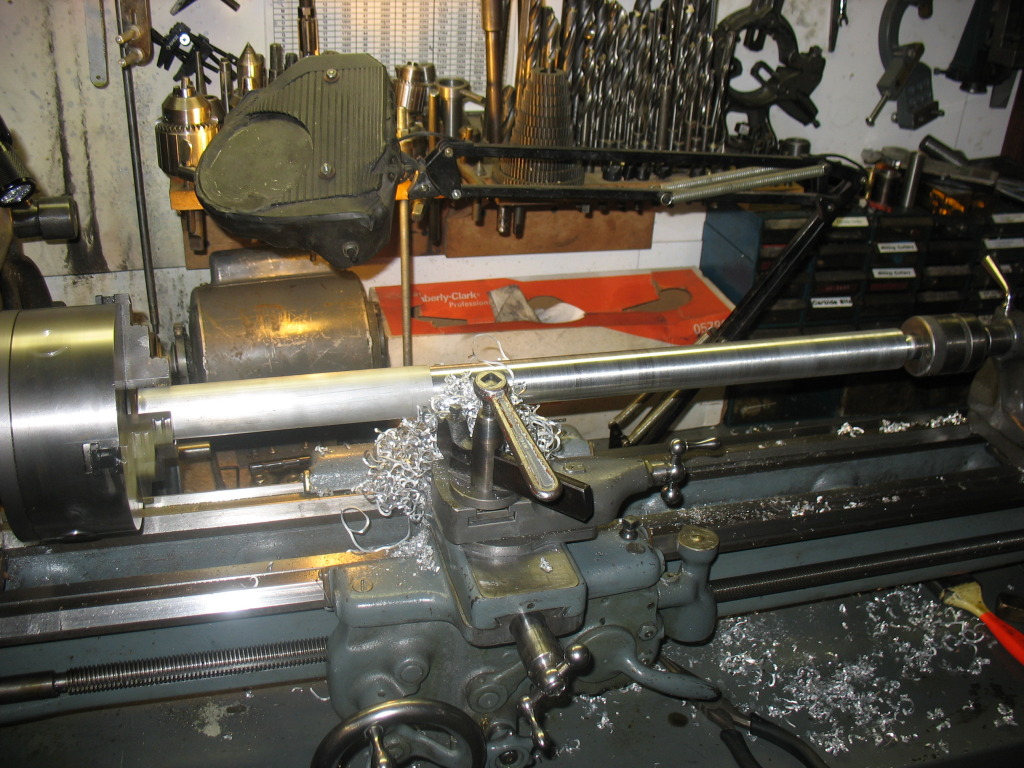
Here you see the tube with the aluminum driven inside and screws every 1/2" around the circumference at each end. I then put it between centres in my South Bend and used the carriage to scribe index lines, every 1/2" along the tube. My hope is that this will allow Bill to hold this assembly with a milling vise at both ends and then use a 60 degree cutter to slit the tube into 1/2" wide strips, with the edges already chamfered. We'll find out tomorrow how it works!