| Ron_Vella |
| (.333 member) |
| 03/01/09 03:16 AM |
|
|
First of all, I must appologize for the poor definition in these close-up photos but I'm no photograper and I can't figure out how to focus my Canon digital manually and I've misplaced the owner's manual.
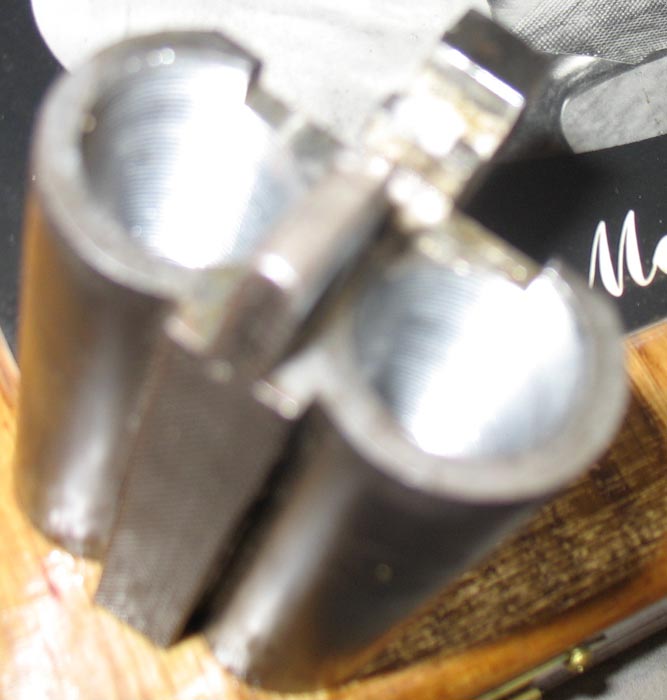
1) This is a photo of the monoblock, created by cutting off the 20 gauge barrels, about .125" ahead of the barrel flats. The chambers have been bored out to .719", then theaded 3/4"-32 with a tap, then faced off square to the bore. It is important that this last step is done one chamber at a time because the bores are not parallel. If you just run a milling cutter across the front face, from one side to the other, the cut will not be square to the bores because the chambers are not parallel. You would then end up with a small gap between the barrels and the face of the
monoblock, on the surfaces closest to the centre line.
2) This is the shank of one of the 1910 Ross barrels. I have turned it to .750", the major diameter of the 3/4"-32 thread.

3) Here I'm threading that barrel shank in my South Bend lathe.
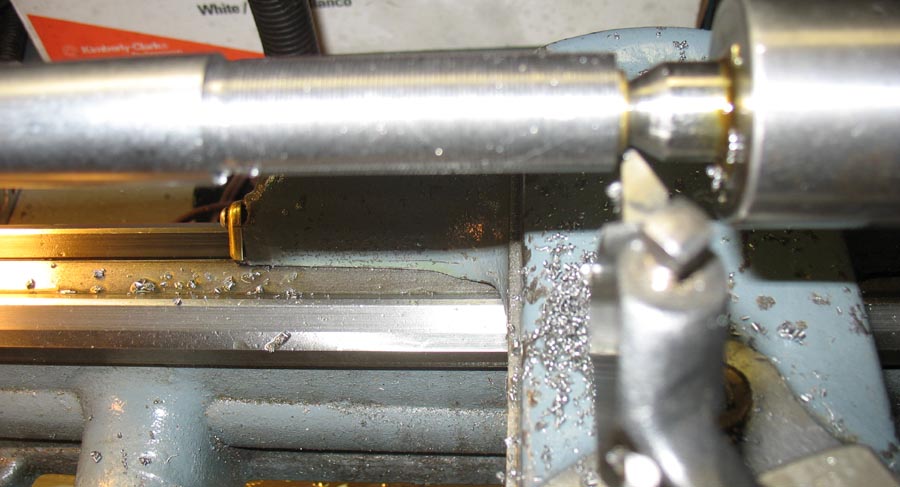
4) This is the first barrel, test fitted to the monoblock. I cut the threads between centres in the lathe. That allows me to remove the barrel, as the thread approaches completion, and test-fit it to the monoblock. That way I can get as close a fit as possible. Using centres, rather than a chuck, allows for much easier repeatablity when the barrel is set back up in the lathe for another cut on the threads.
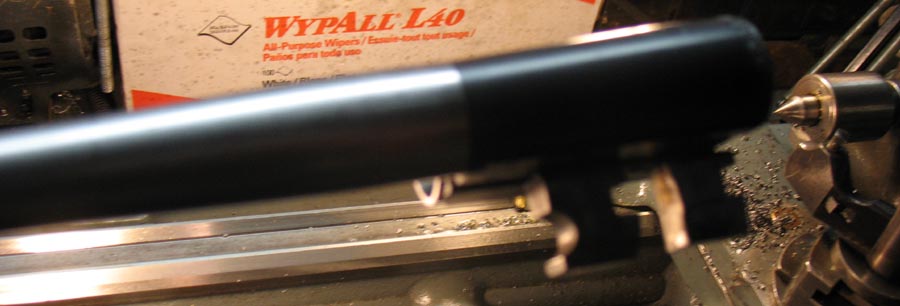
5) This is just another view of the above.

6) Here's the second barrel, threading complete, and test-fitted to the monoblock as well.
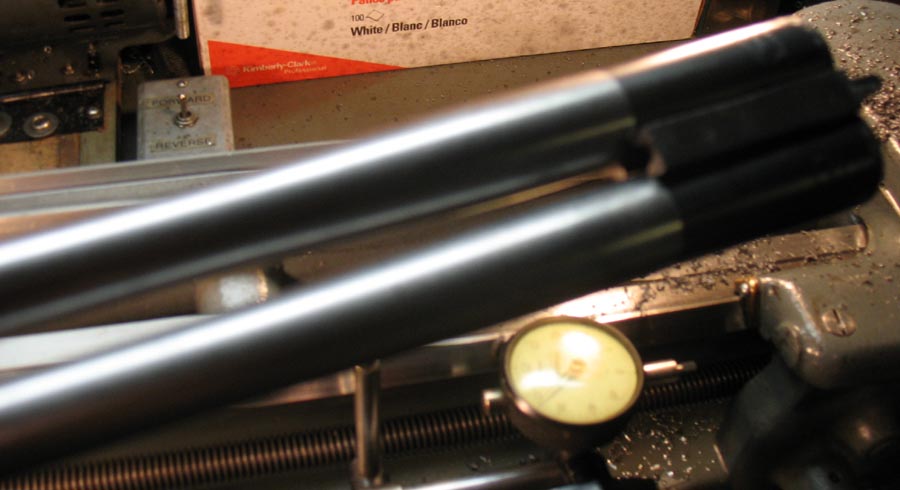
7) Both barrels, test-fitted to the monoblock.
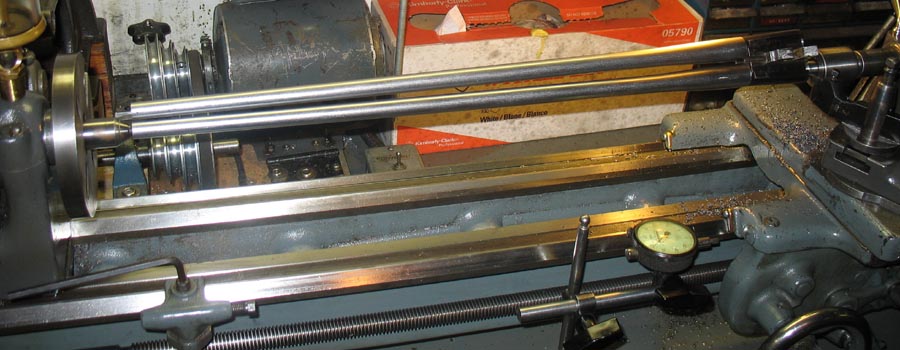
8) A close-up view of the above.
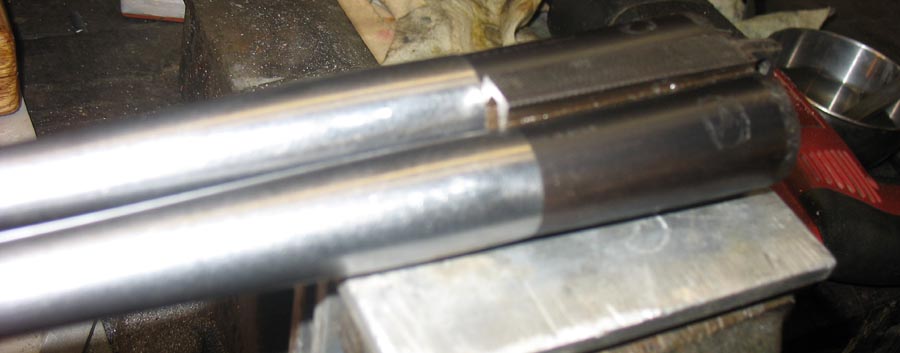
9) Here are the barrels, test-fitted to the monoblock, and I'm making up spacers to be micro-TIG-welded between them. My goal is to end up with a convergence of about .020" from the forward spacer, out to the muzzle wedge.
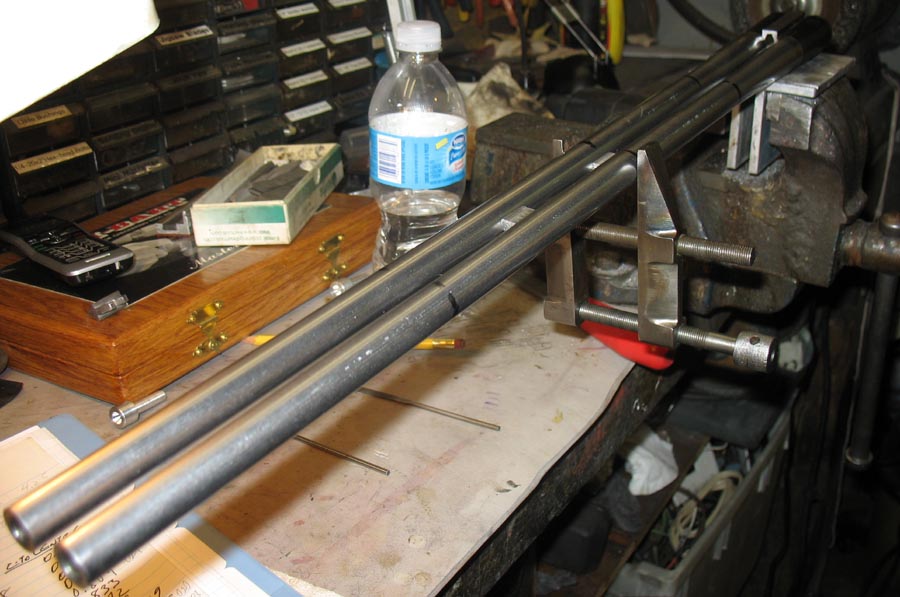
10) Here's the extractor, set up in a jig that I cobbled together, along with the two filler pieces that I tuned up in the lathe. These will be micro-TIG'ed into place, then filed and stoned to final fit. The finish chambering process will cut these inserts to final dimensions, including the rim recesses.
11) This is a close-up view of the barrels, threaded and soldered with Brownell's Hi-Force 44 solder, into the monoblock.
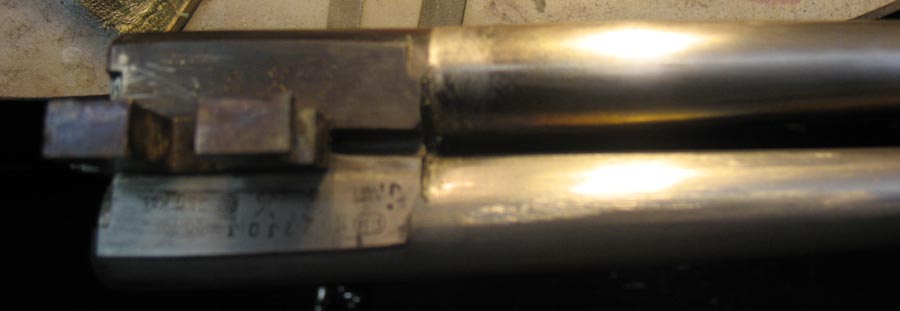
12) Here the left barrel and monoblock have been roughly draw-filed and stoned to near-final dimensions.
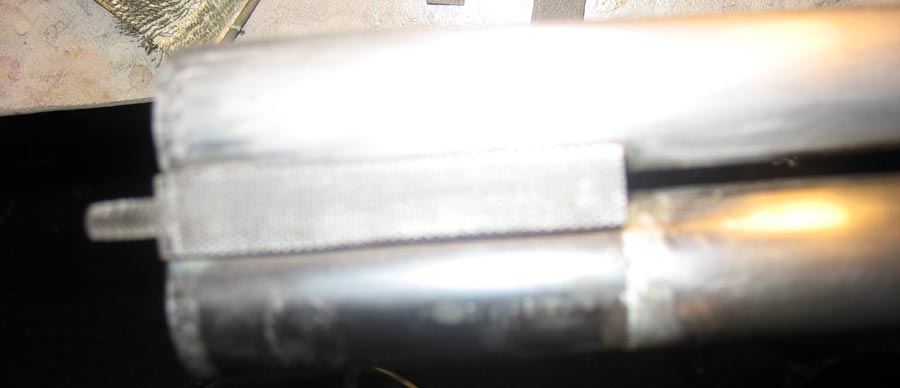
13) Another view of the same.
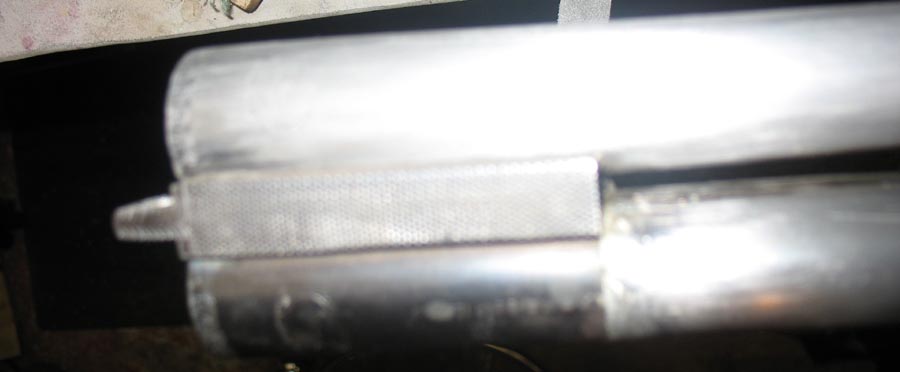
14) Here's the left barrel, completed except for final polish to 400 grit, after intallation of the ribs.
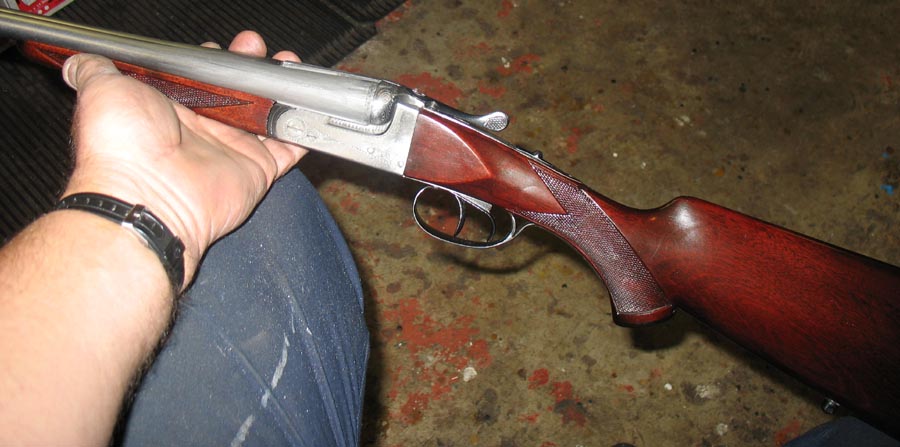
15) Here's the gun, on my knee, right barrel yet unfinished, and forend held in place, just to see how it's going to look when complete.
16) Here's another view, laid out on "the warden's" ironing board.
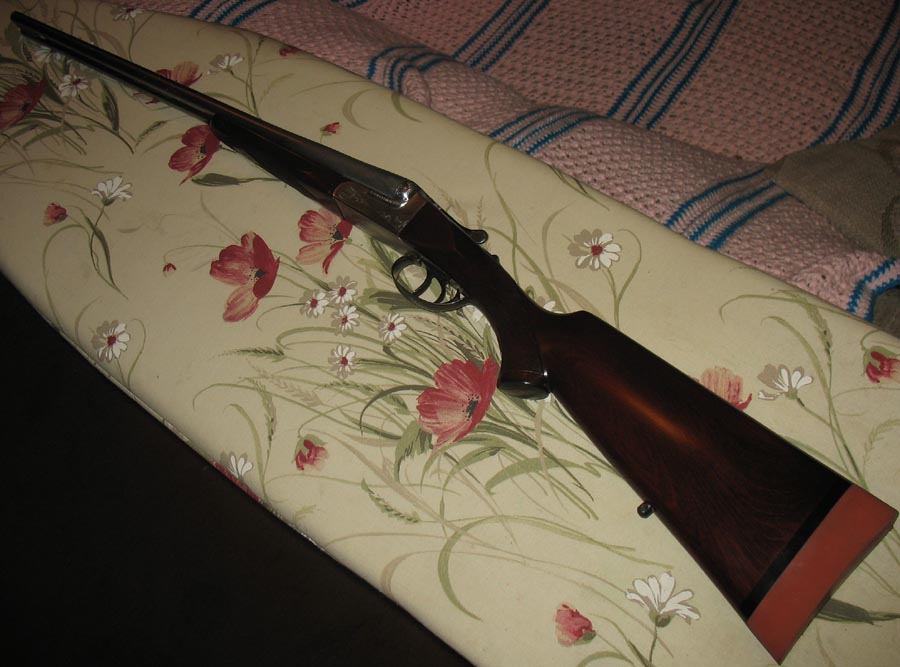
17) Here's another view, left barrel finished, right still to do. Note that top lever is still well to the right of centre, I have to do some careful spot-bluing and stoning to bring the barrels completely down onto the standing breech.

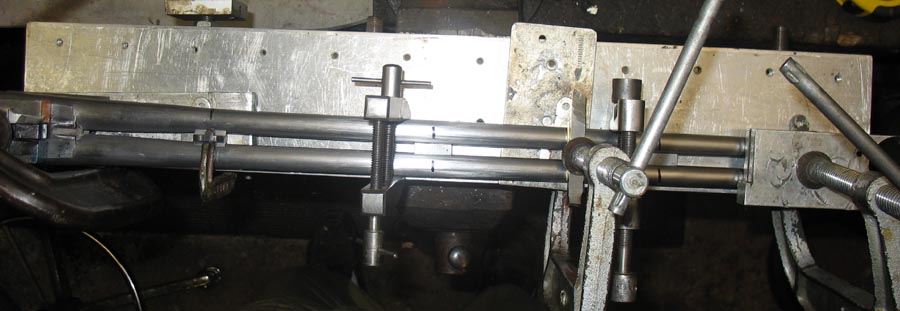
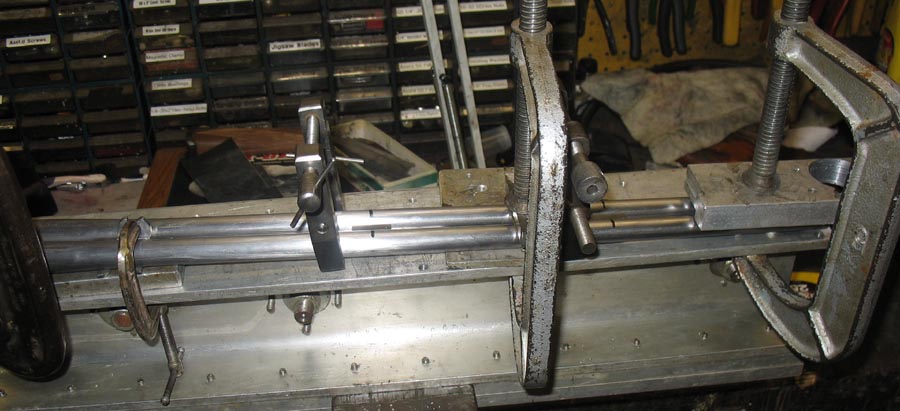
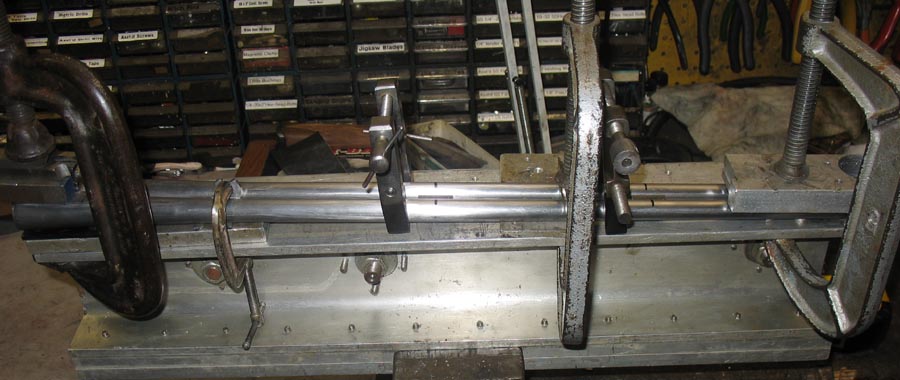
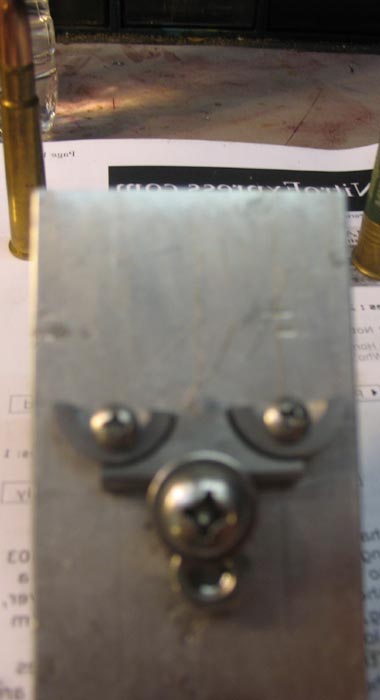
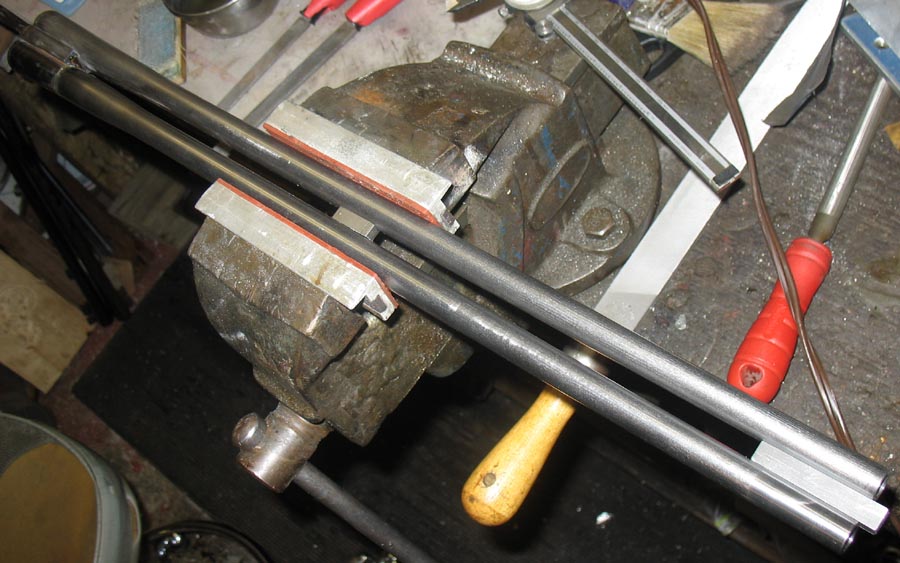
18, 19, 20) These are three views of the barrel assembly, shimmed and very tightly clamped to a section of six inch aluminum "I-Beam", ready to go to the micro-TIG welder. He will weld the forend hanger, the spacer at 12" from breech face, and the spacer at 18" from the breech face. The wedge that goes between the muzzles, and is used for final regulation, will be soldered into place, along with the top and bottom ribs. The aluminum I-beam provides an extremely rigid and dead-flat surface. I clamp the monoblock to it first, very tightly, then with a lot of measuring and shimming, I clamp the barrels to it, in two locations, with the spacers between them. This allows me to get the verttical regulation of the barrels, very close to where it needs to be. What I like about this system is that because the spacers and forend hanger are TIG welded into place, nothing can move on you during the process of soldering on the top and bottom ribs and the muzzle wedge.
